
![How to Do Gel Nails at Home Step-by-Step [2025 Guide]](https://stylistaah.com/wp-content/uploads/2025/08/How-to-Do-Gel-Nails-at-Home-Step-by-Step-2025-Guide-1024x614.jpg)
How to do gel nails at home is your ticket to stunning, salon-quality manicures without the hefty price tag. Imagine crafting glossy, chip-free nails that last weeks, all from your cozy couch. This 2025 guide makes DIY gel nails simple for beauty-loving women aged 18–35. With a gel nail kit and a UV lamp for nails, you’ll create vibrant looks that rival any nail tech’s work.
No more scheduling salon visits or breaking the bank! Follow this beginner-friendly gel nails tutorial to unleash your creativity. From bold neon’s to soft pinks, your nails will steal the show. Get ready to pamper yourself and nail that perfect mani!
What Are Gel Nails, Anyway?
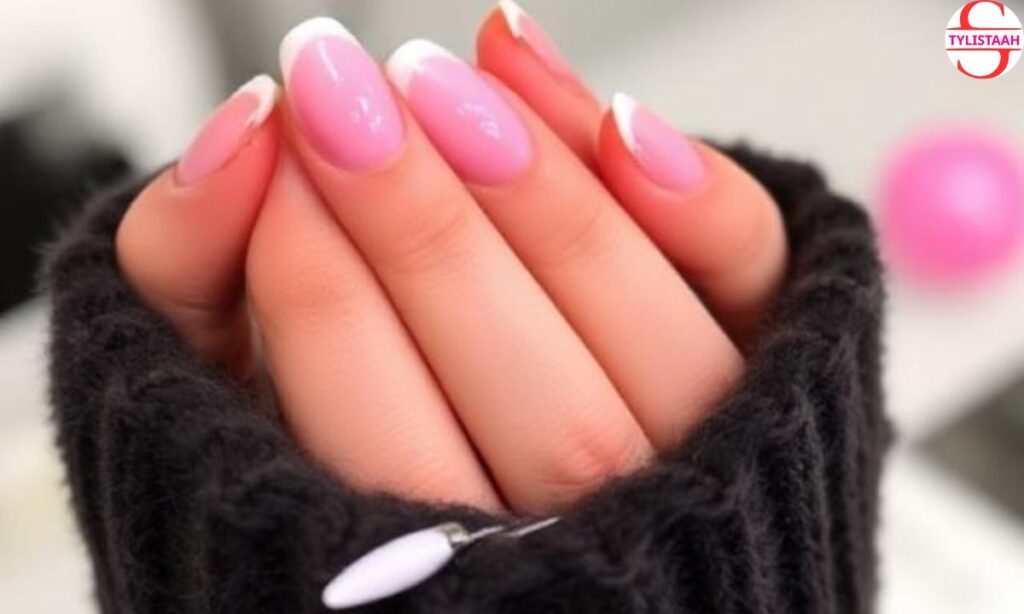
Gel nails use a special polish that hardens under a UV lamp for nails, delivering a glossy, durable finish. Unlike regular polish, which chips in days, gel polish stays flawless for 2–3 weeks. The secret? A thick gel formula that cures into a tough, shiny shield. From bold neons to soft nudes, gel nail kits offer endless colors for every vibe. Ever noticed those Insta-worthy manis that look too perfect? That’s the magic of gel! For beginners, this gel nails tutorial makes it easy to achieve that salon glow at home, no appointment needed.
Why Choose DIY Gel Nails?
Opting for DIY gel nails saves you time and money while letting your creativity shine. A single salon visit can cost $40–$80, but a gel nail kit (around $30–$60) pays for itself in just a few uses. Plus, you control the process—pick your colors, experiment with designs, and skip the salon small talk.
Whether you’re prepping for a date or just want to feel fabulous, how to do gel nails at home empowers you to pamper yourself. With practice, you’ll whip up stunning Manis faster than you can say “nail goals.”
Tools You’ll Need to Get Started
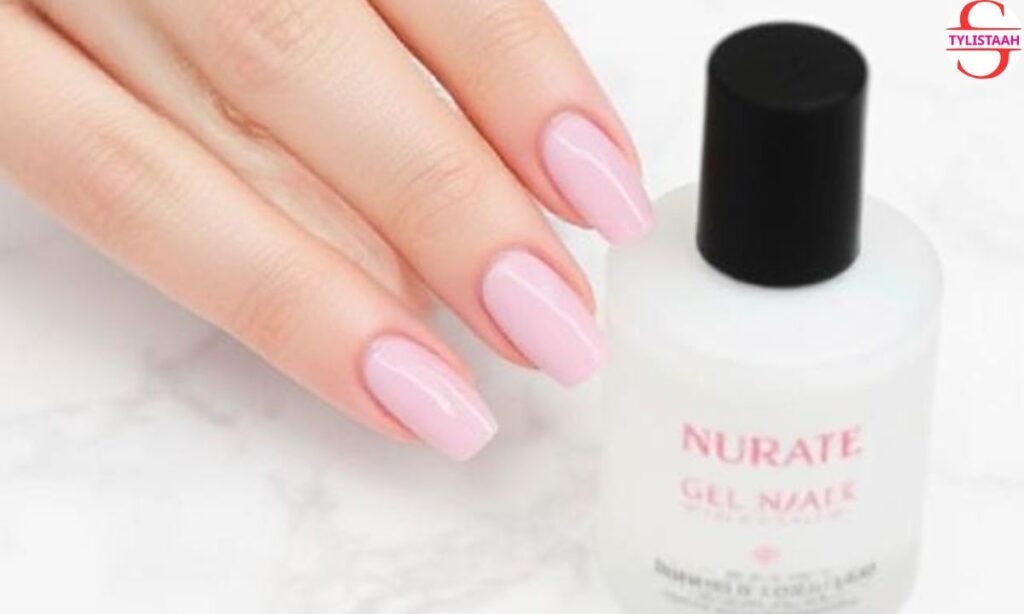
Before diving into how to do gel nails at home, gather these essentials for a flawless manicure. A quality gel nail kit simplifies things, but here’s the full lineup:
- Gel Nail Kit: Brands like Beetles or Gellen include base coat, top coat, and vibrant polishes.
- UV or LED Lamp: A 48W lamp, like SunUV or Gelish Mini, cures polish quickly.
- Nail File (180/240-grit): Shapes nails smoothly without tearing.
- Buffer Block: Preps nails for better polish grip.
- Cuticle Pusher: Metal or wooden tools to tidy cuticles.
- Cuticle Oil: Try OPI ProSpa for hydrated, happy nails.
- Acetone-Based Remover: Safely strips old gel polish.
- Lint-Free Wipes: Prevents fuzzies from sticking to nails.
- 90% Isopropyl Alcohol: Cleans nails for a spotless base.
- Nail Clippers: Trims nails to your desired length.
- Foil Wraps: Handy for mess-free gel removal.
Shop at Ulta or Amazon for budget-friendly kits. Pro tip: Check reviews to ensure your UV lamp for nails has strong curing power!
Step-by-Step Guide to Perfect Gel Nails
Ready to create your own DIY gel nails? This beginner-friendly gel nails tutorial walks you through each step. Think of it like painting a tiny canvas—precision is key!
- Prep Your Nails: Trim and file nails to your favorite shape. Gently push back cuticles with a pusher. Buff the nail surface lightly to remove shine, then wipe with alcohol to banish oils. Clean nails mean longer-lasting polish!
- Apply Base Coat: Brush on a thin layer of base coat, avoiding skin. Cure under your UV lamp for nails for 30–60 seconds (check your lamp’s manual). The sticky residue is normal—it helps polish the stick.
- Add Gel Polish: Pick a shade and apply a thin, even layer. Start at the nail’s base, gliding to the tip. Stay clear of cuticles to prevent lifting. Cure for 60 seconds. Repeat for a second layer to boost color pop.
- Seal with Top Coat: Swipe on a thin top coat layer, capping the nail edges for extra durability. Cure for 60 seconds. Wipe nails with alcohol to remove stickiness and reveal that mirror-like shine.
- Clean and Moisturize: Use a small brush with acetone to tidy any polish on skin. Massage cuticle oil into your nails and hands for a polished finish.
This process takes about 40 minutes for newbies. Soon, you’ll be a DIY gel nails pro, churning out manis in half the time!
Mistakes That Can Ruin Your Mani
Even with a top-notch gel nail kit, slip-ups happen. Dodge these common errors to keep your nails looking fab:
- Slathering on Thick Layers: Thick polish doesn’t cure properly, leading to bubbles or smudges. Thin layers are your best friend.
- Skipping Prep: Unclean or unbuffed nails cause polish to peel. Always wipe with alcohol before starting.
- Polishing Skin: Gel on cuticles lifts the manicure. Clean up mistakes before curing with a tiny brush.
- Using a Weak Lamp: A low-wattage UV lamp for nails can under-cure polish, causing tackiness. Invest in a 36W–48W lamp.
- Peeling Off Polish: Never rip off gel—it damages nails. Soak in acetone for safe removal.
Steer clear of these traps, and your DIY gel nails will scream salon quality!
Keep Your Gel Nails Gorgeous: Aftercare Tips
Want your manicure to last? These aftercare tricks ensure your DIY gel nails stay flawless for weeks:
- Moisturize Like Crazy: Rub cuticle oil and hand cream daily to keep nails hydrated. Try CND SolarOil for a luxe feel.
- Glove Up for Chores: Wear gloves when washing dishes or gardening to shield nails from water and dirt.
- Skip Hot Soaks: Long baths in hot water weaken gel polish. Stick to lukewarm water for hand washing.
- Resist Picking: If polish lifts, don’t peel it. Soak it off with acetone to protect your nails.
- Fix Chips Fast: Spot a chip? File it gently, dab on top coat, and cure to extend your mani’s life.
Follow these tips, and your nails will stay glossy for up to 21 days!
FAQs to Nail Your Gel Game
Curious about how to do gel nails at home? Here are answers to top questions buzzing on Google:
1.Do I need a UV lamp for gel nails?
Absolutely! A UV lamp for nails or LED lamp cures the polish, making it hard and durable. Without one, gel polish stays gooey.
2.How long does a home gel mani take?
Expect 40–50 minutes for prep, painting, and curing. With practice, you’ll zip through in 30 minutes.
3.How do I remove gel polish safely?
Buff the polish, soak cotton pads in acetone, wrap nails in foil for 10–15 minutes, then gently scrape off. Moisturize after!
4.Are gel nails bad for my nails?
Not if done right! Proper prep and removal prevent damage. Over-buffing or peeling can weaken nails, so follow this gel nails tutorial.
5.What’s a good starter gel nail kit?
Brands like Beetles or Sally Hansen offer affordable kits ($25–$50) with polishes, a lamp, and tools. Check Ulta for deals.
Wrap-Up: Your Nails, Your Rules!
Mastering how to do gel nails at home is like unlocking a superpower—gorgeous nails whenever you want, no salon required! With a trusty gel nail kit and this gel nails tutorial, you’re set to create manis that turn heads. From picking vibrant shades to perfecting that glossy finish, you’re in charge. Give it a whirl, experiment with colors, and flaunt your DIY gel nails. Got a favorite polish or a cool design idea? Drop it in the comments and inspire others
For more detail : Stylistaah

I am Atiq a content writer and SEO expert with 2 years


![How to Do Gel Nails at Home Step-by-Step [2025 Guide]](https://stylistaah.com/wp-content/uploads/2025/08/How-to-Do-Gel-Nails-at-Home-Step-by-Step-2025-Guide-150x150.jpg)